How to create good pieces
In electoral campaigns, a wide range of materials are used. These pieces carry the candidates’ ideas, messages, and proposals. In this guide, we’ll focus on the most common one: flyers.
Flyers: the essentials
Flyers (also known as leaflets) are among the most popular tools in electoral campaigning. They allow you to include a variety of information about your candidacy on a single sheet of paper.
You’ve probably seen flyers that look like they cost a fortune to produce and thought, “I don’t have that kind of money!” Don’t worry. Here, we’ll share tips and ideas that’ll help you plan more efficiently – and save your budget.
Tips for a good flyer:
- Go for a half-page size (using a standard A4 sheet) and plan a double-sided design: front and back.
- On the front, include your photo, name, slogan, and the party and/or federation you’re running with. Don’t forget to add the number you’ll have on the ballot, this is crucial.
- On the back, include your campaign proposals. We recommend using a numbered list, with dashes, asterisks, or bullet points.
- Less is more: make sure there isn’t too much text, too many images, or too much information. The simpler and easier it is to read, the more appealing your flyer will be.
- Always remember to use gender-inclusive language and avoid images that reinforce stereotypes or prejudice.
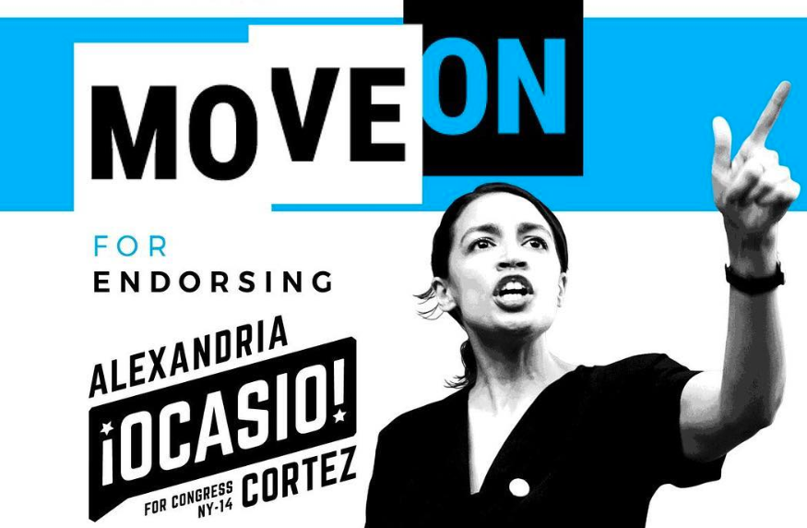
A good flyer
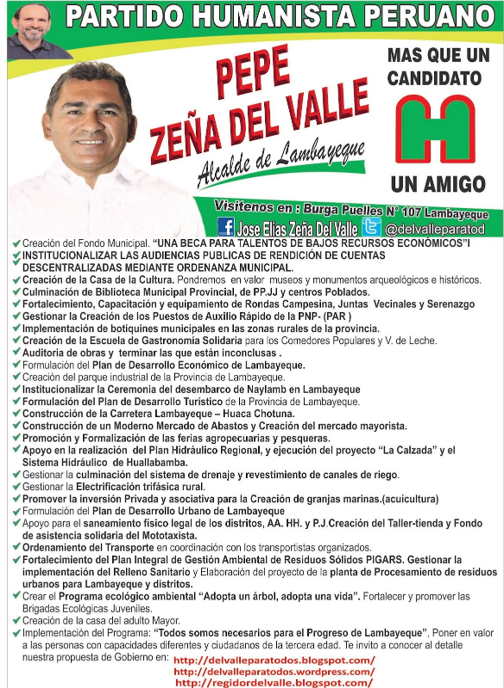
A bad flyer
Types of flyers
It’s important to know that you can create different types of flyers depending on the stage your campaign is at. In general, three types are commonly used:
01
Introduction (Launch):
Used at the beginning of the campaign to make the candidate known. Include your name, photo, ballot number and the party/federation you’re running with.
02
Differentiation:
Used in the middle of the campaign period, once the candidate is already “established” and it’s time to start sharing proposals. This type usually includes everything from the introduction flyer plus the campaign’s main proposals.
03
Final stretch:
Produced close to the end of the campaign and focused on the call to vote. It’s essential to include the party/federation logo and the number that will appear on the ballot. You know that classic cheat sheet people take to the polls? That’s exactly it.
Working with a low budget?
If your campaign budget doesn’t allow you to produce all three types of flyers, here’s what we recommend:
- Produce only two types: the differentiation flyer and the final stretch flyer.
- If the budget is even tighter, choose just the differentiation flyer. Once you have access to the party/federation logo and your ballot number, you can print a sticker and add it to the flyers.
- If you don’t have money for stickers either, here’s another tip: use a marker and write the number by hand on the flyers.
Printing a large number of flyers at once is always much cheaper than doing several small print runs. That’s why it’s important to know how many flyers you actually need. But how do you calculate that?
Think about how many flyers your team can hand out in about one hour. This number will vary depending on how many volunteers are on your team.
Find out how many houses or apartments there are on each block and/or street you plan to cover. The ideal rule of thumb is at least one flyer per household.
Other assets
There are also other campaign materials that aren’t considered “public space” advertising, but rather private space materials. Here are a few examples:

Banners: Similar to billboards, but adapted to fit balconies or windows. You’ll need explicit permission from the property owner to install them.

Posters: These usually use the same design as billboards, but are printed on paper and placed in the windows of houses, apartments, or businesses. Remember: you’ll also need explicit permission from the owners.

Stickers: These are adhesive materials placed on car rear windows, allowing the candidate’s information to circulate as people move around using their private vehicles.